
Artistic Wake-up Call
I was up late on Pinterest last week, slouching over the computer with glazed eyes, pinning ideas to a cyber board of intangible projects. Scrolling, scrolling, clicking, clicking in hypnotized addiction, each pin making me hungry for more. All of the sudden, I felt my artistic psyche grab me by the shoulders, slap me in the face and say,"Hey, wake up you crazy woman! (shaking me silly) Get off the dang computer and start creating something from these ideas you keep pinning, for crying out loud!"
Awakened into reality, I ran to my studio to work on something, ANYTHING that would make me feel creative. As it was late, I decided I couldn't start anything too big, so grabbed a kit of the shelf that I purchased off Etsy. It was just the thing I needed to revive my artistic soul.
Felted Acorn Kit by Fairyfolk
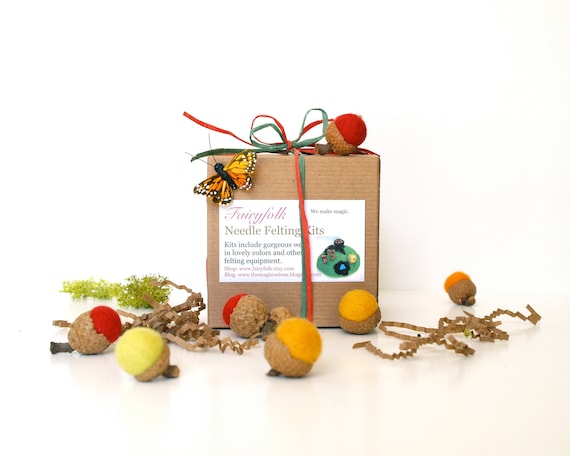 |
| Felted Acorn Kit by Fairyfolk |
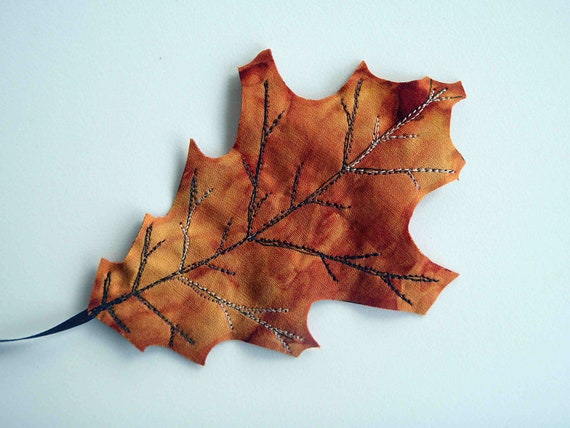 |
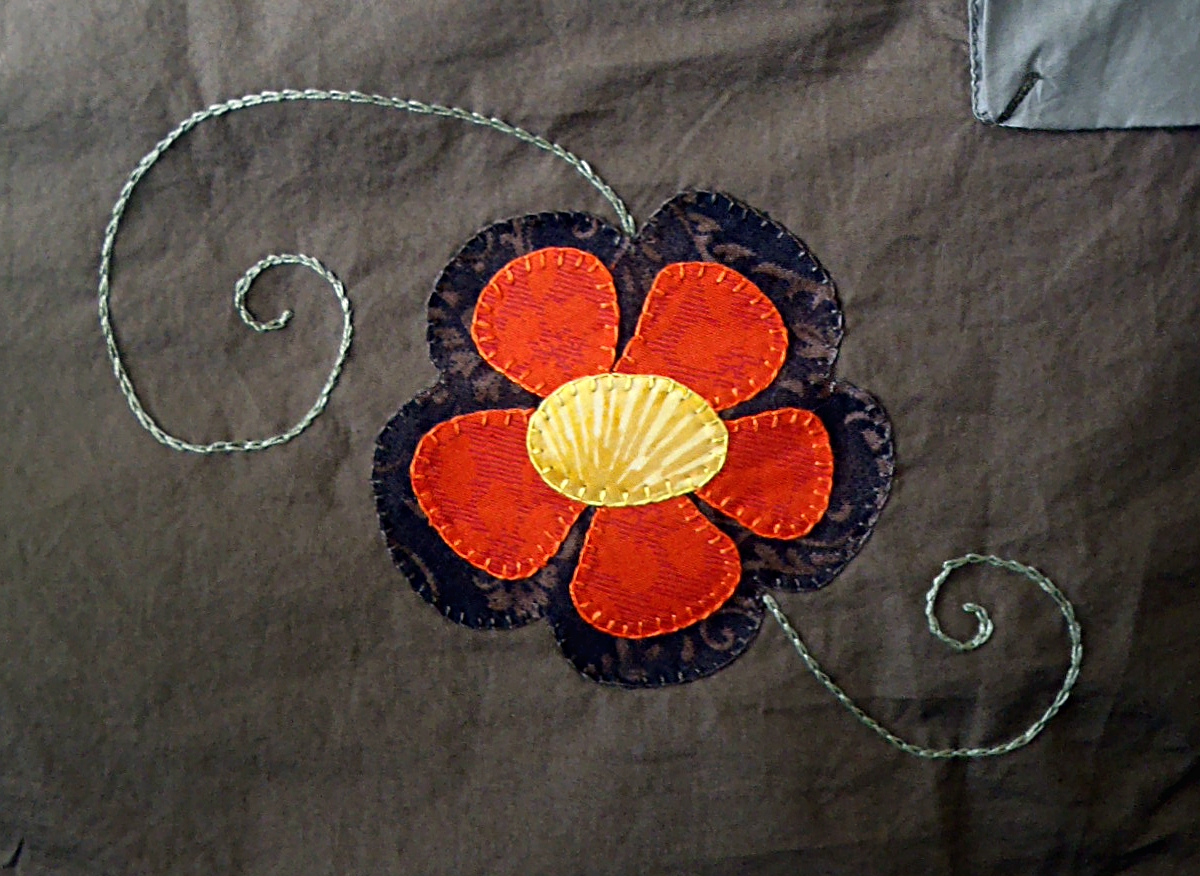
| Fabric oak leaf from Artfully Sew |
Donni's kit was so fun and easy to use! The directions were easy to follow, even my 9 year-old daughter, N.J. helped me make some.
 | |
| Aren't these babies cute, cute, cute? |
I didn't take pictures (kicking myself) so I have photos from Fairyfolk to share. The photo below is a different kit with green colored wool. Donni has many different kits with different colors to choose from.
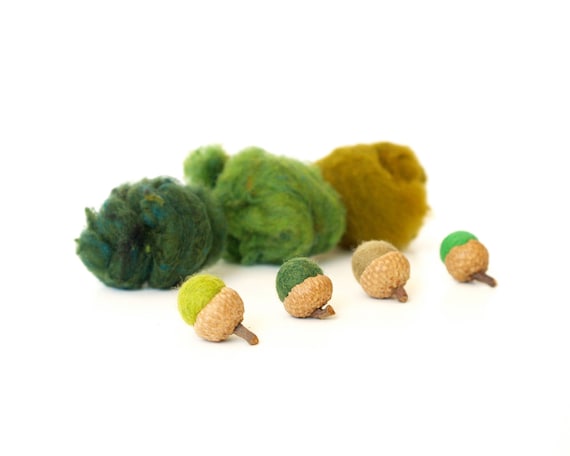 |
| From wool to acorns, lickety split! |
Finished Felted Acorns
If you don't want to make your own, Fairyfolk also has finished acorns to choose from as well as many other beautiful items and kits. I think these are great for fall decorating. Wouldn't they look great in a wooden bowl?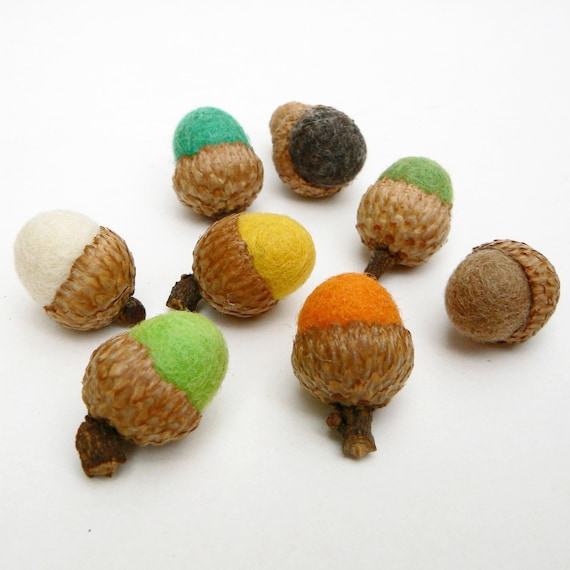 |
| Finished Felted Acorns by Fairyfolk |
"Get off your butt and go work on one of those great projects you pinned! Or if you need a kick start, check out Fairyfolk and order a kit."
Artfully sewing,Angela Jean
Artfully Sew


